How to Build a YouTube Recording Setup – 7 Simple Steps
In this blog post, I will explain how to build a YouTube recording setup at home as straightforward as possible. In this post, I’ll discuss the essential equipment, such as cameras, microphones, lighting, and others, to help you create high-quality videos for your YouTube channel.
What is a Youtube Recording Setup?
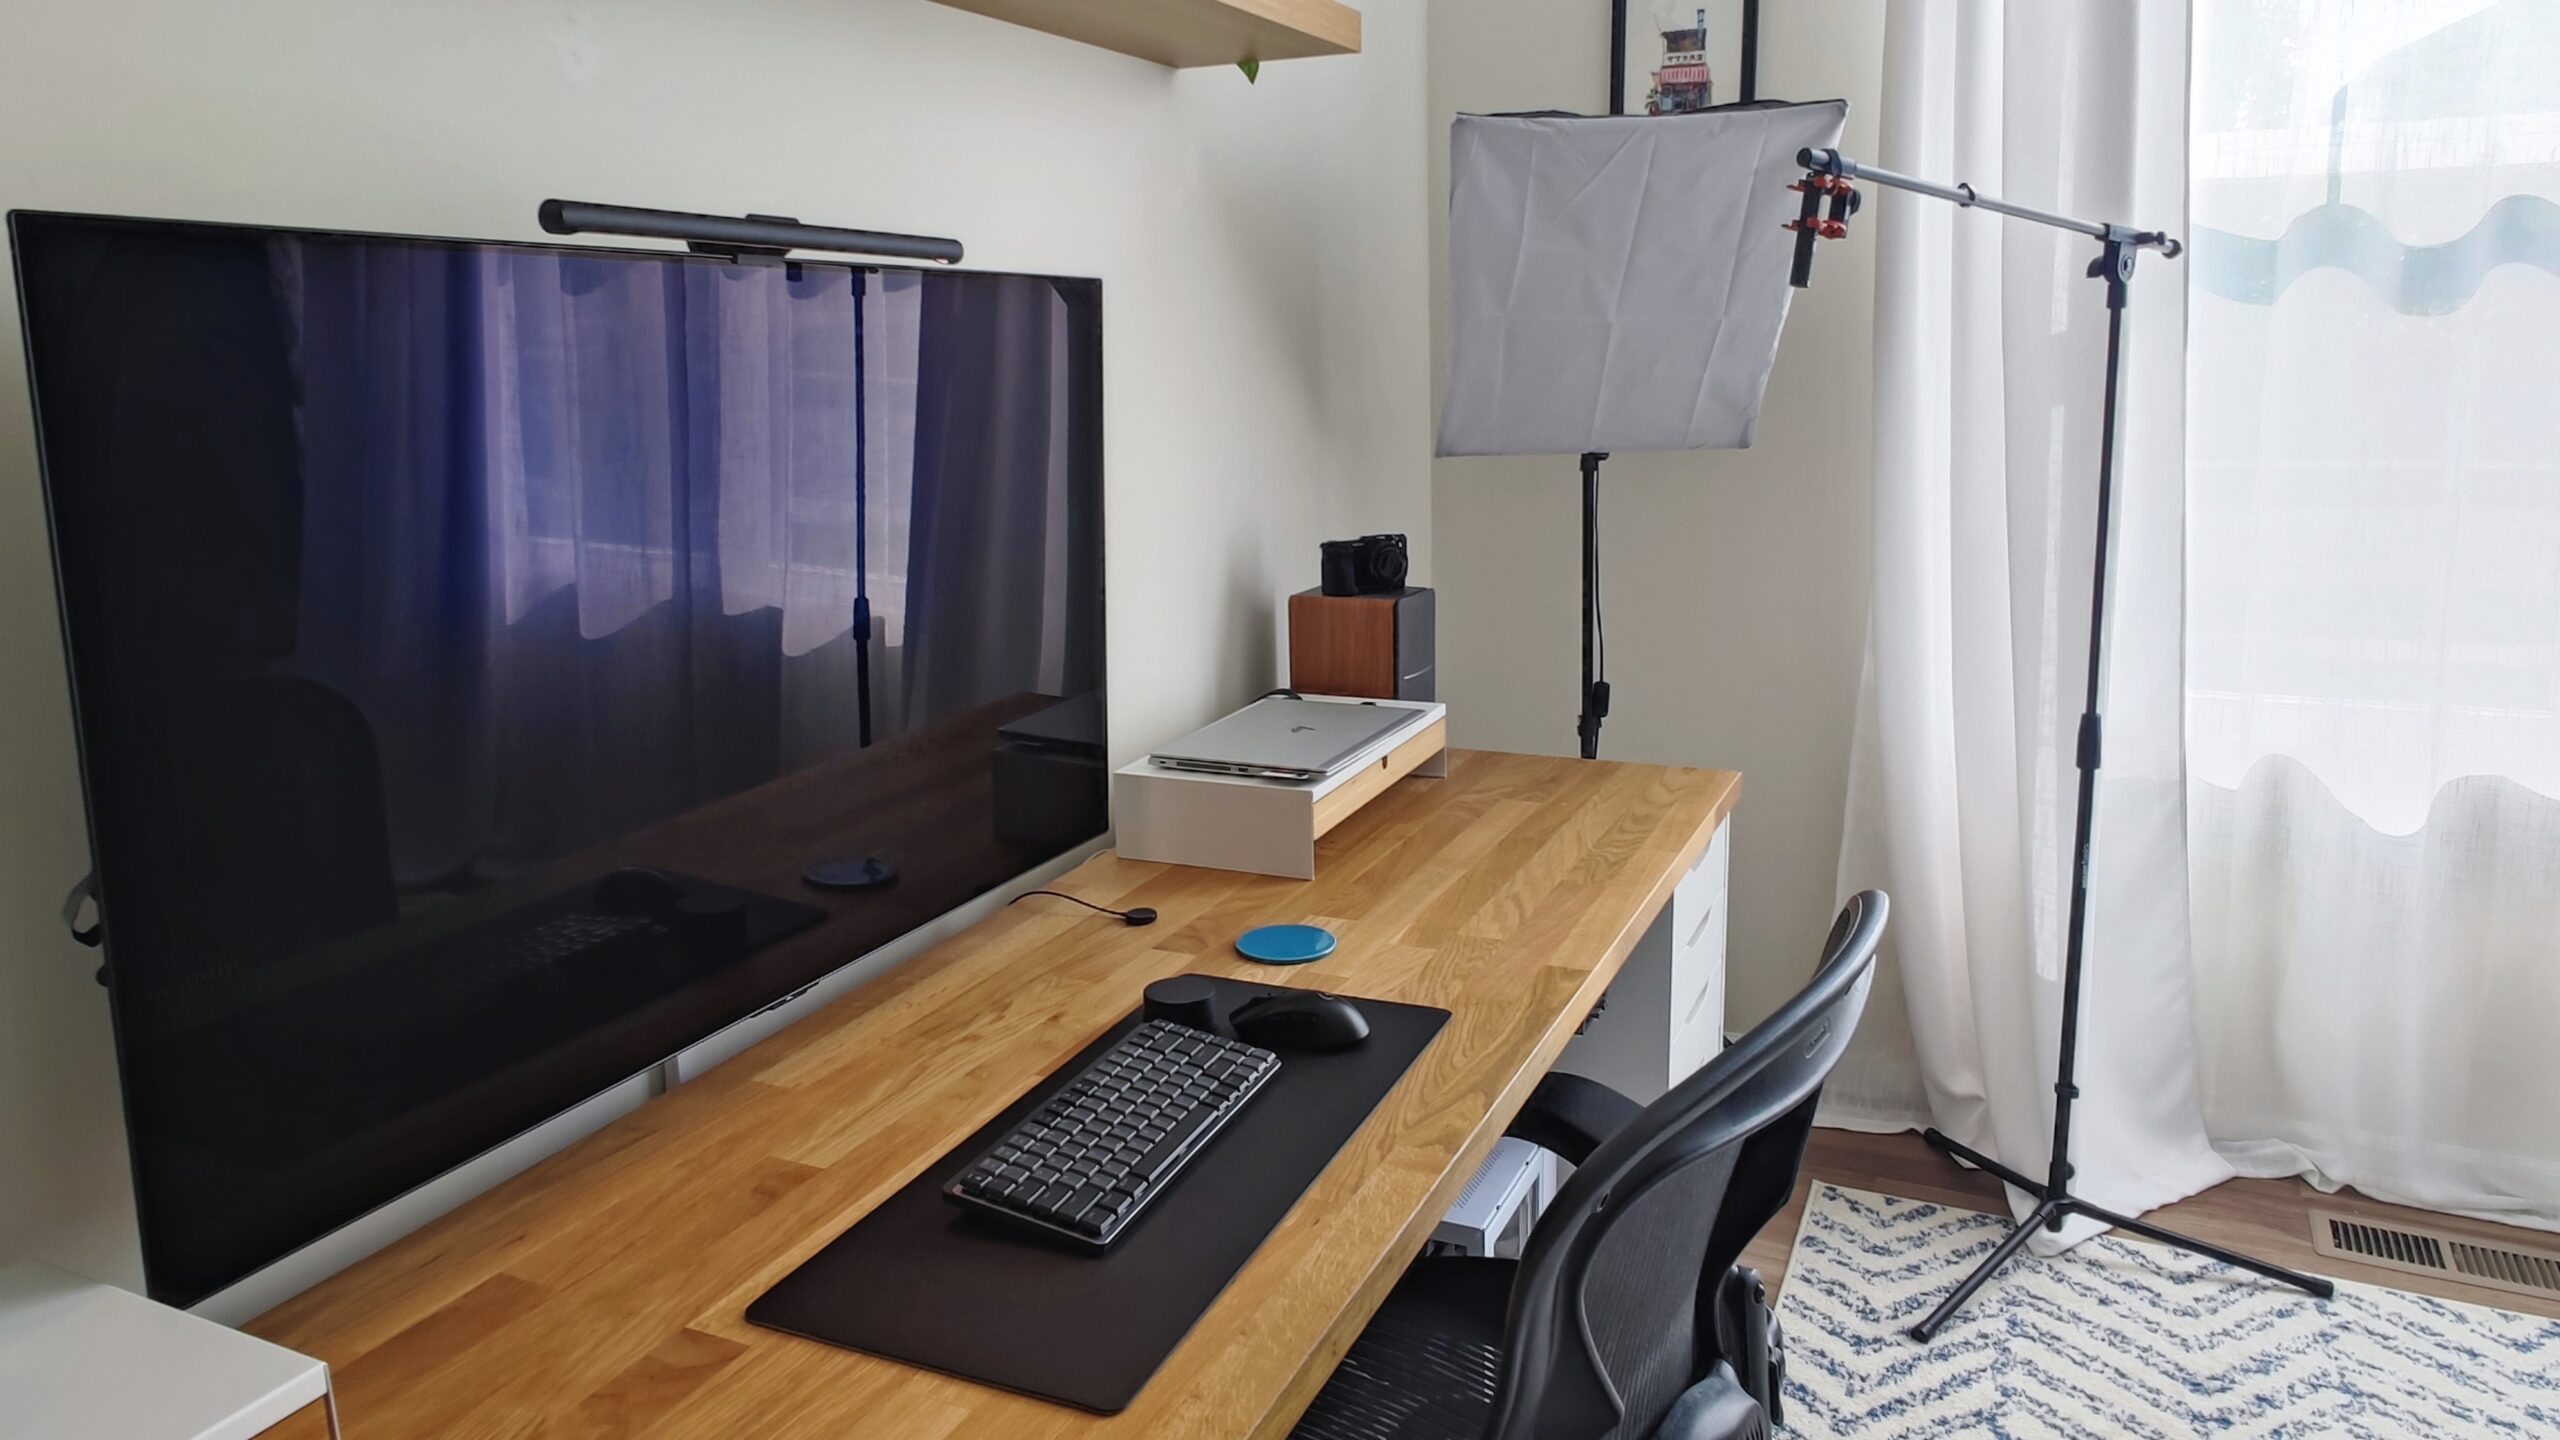
A YouTube recording setup is a home studio designed to create YouTube videos. It usually consists of a computer, a microphone, a camera, and other tools necessary to capture audio and video.
For many people considering filming YouTube videos, the home studio setup does not have to be complicated and can even be done in a small space.
What Equipment is a must have for my Youtube Studio Setup?

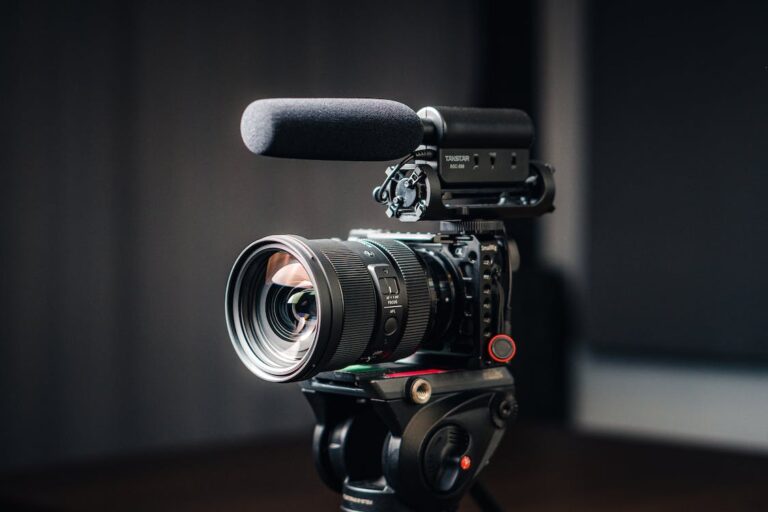
1) Camera: If you plan to record footage in 4K or HD, then a DSLR or mirrorless camera is the way to go. Good HD capabilities are the standard, as many people watch videos on their phones. However, I recommend a camera that can shoot youtube content in 4k to future-proof yourself for a few years. You could use a webcam for live streams. However, I wouldn’t recommend it as your primary camera.

2) Microphone: A good sound quality microphone is another essential equipment for any YouTube recording setup. A shotgun or Lavalier mic will help you achieve good professional sound quality, while a USB mic can be used for more basic recordings. My choice is the shotgun mic so it can be placed outside the recording and won’t make the shuffling noise like a Lavalier mic.

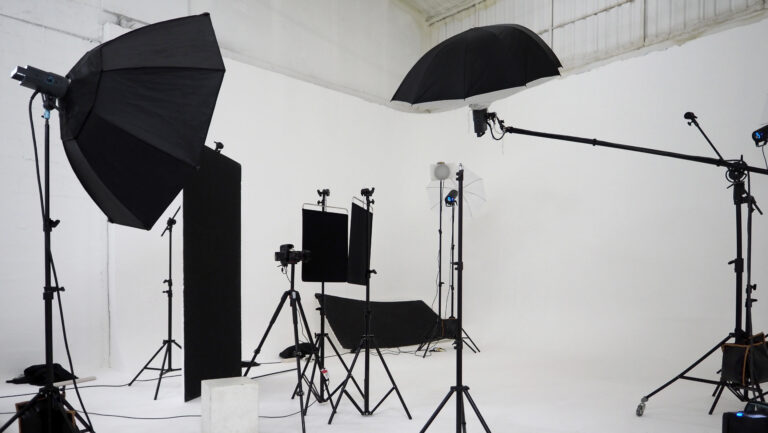
3) Lighting: Lighting is essential to any YouTube setup, whether your videos are shot indoors or outdoors. Good lighting will make your videos look more professional and ensure accurate colors. Some people prefer the ring light, but I use the softbox lighting kit as it gives the most coverage.

4) Computer: A computer is essential for a Youtube recording setup, allowing you to record, edit and render videos. Not only that, but a computer also allows you to store recordings, create custom effects and graphics, and upload them quickly to Youtube.

5) Tripod: A tripod is required for recording as it provides better stability and height adjustment for a professional, sharp look and is not blurry or shaky. You can also add a secondary camera for another recording angle while filming. You should purchase a tripod that can mount either on the desk or the floor.
With this essential equipment, you’ll have everything you need to create high-quality videos for your YouTube channel in your room. Hopefully, this list has helped you understand what is required to build a home youtube studio without difficulty!
7 Step-by-Step Instructions on How to Build a YouTube Recording Setup
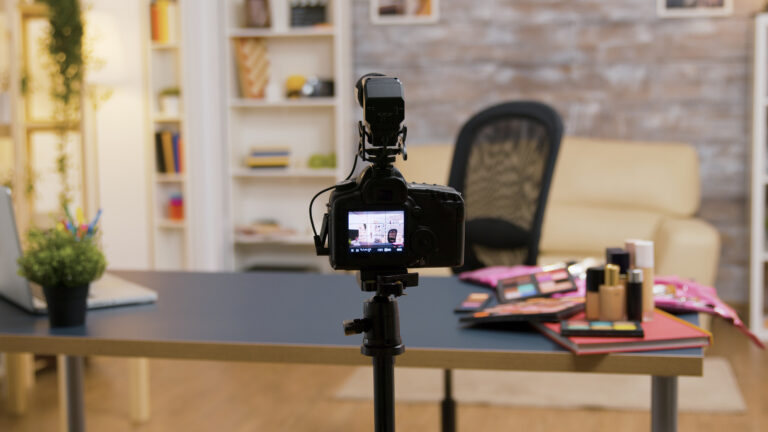
- Camera Setup: No matter where your camera is located, use the camera grid to ensure your face is in the middle of the recording. Place it on your desk with a stand, or use a tripod. Adjust your camera settings for the best ISO, aperture, and shutter speed. I strongly recommend cameras with auto-image settings; if not, you can experiment manually. Most Youtubers like to set the background to blur, giving the speaker a nice effect and better lighting. Be careful not to overdo the ISO because it will make your recordings look grainy or overexposed, which could make you look like you live within the sun.
- Background: Ensure it looks pleasant and reflects the vibe you want to project in your videos. At the very least, ensure your background is organized and remove as much clutter as possible. You can purchase ambient lighting in your background to add an artistic and cozy feeling.
- Lighting Setup: Extensive lighting is unnecessary, but having a single primary soft light source is recommended, especially if you’ll be recording at night. Natural sunlight is the best in the day, but when it’s cloudy or late afternoon, you’ll need an artificial light source for the best-looking camera recordings. Also, a problem with the natural night is that the sunlight could be inconsistent and affect your camera image settings.
- Mic Setup: Use your mic stand and position a shotgun microphone above your head outside the camera view. Do an audio recording test and adjust your settings in the audio software. Remember, audio is just as important, if not more, than your video recording.
- Test recording: I recommend doing a full minute. This will let you double-check your lighting, audio, and background.
- Begin Recording and Storing: Start filming your YouTube video! Once complete, start storing your recordings on your SSD or storage device.
- High Performance PC and Video Editor: Start to edit for color correction and include your b roll footage.
Does the Camera matter?
Yes, but to a certain extent, as cameras could be expensive with high price points. A good camera will produce clear, sharp recordings with vibrant colors. However, you should choose the best bang for your money by ensuring it has the most important features. The essential built-in features are stabilization, auto-focus, and a flip screen (do not buy a camera without a flip screen). There is a price threshold where the value for money starts to diminish, and I would not recommend spending thousands of dollars on the device. Also, the recording capabilities may be sufficient if you have an upper-tier smartphone. If you have extra money, I recommend spending it on other equipment, such as lighting, lenses, and a microphone, instead of an overpriced camera.
Does the Microphone matter?
Unlike the camera, the microphone is highly underrated. I would even state that the microphone may be the most important thing. The vast majority of viewers would watch a lower-quality video, but none will tolerate poor audio quality. Mics are responsible for capturing the audio in your video, which significantly affects its overall quality. Without a good microphone to capture clear audio, your videos will sound muffled and distorted. I recommend using a shotgun mic, as you can position it outside the camera frame. Less equipment provides a cleaner look when doing a YouTube recording; however, if you are recording outdoors or while on the move, you will most likely need a Lavalier microphone or place your shotgun mic on your camera with a windscreen.
Does the lighting matter?
Your YouTube lighting setup is an essential part when recording. It can affect the overall appearance and how viewers perceive the video itself. Lighting helps set the mood and atmosphere of your videos, so it’s crucial to ensure your lighting is set at the right color temperature for the mood you want to express. Poor lighting can give an unprofessional look, while good lighting can make your videos look stunning. Natural light is always the best, but you may still need to supplement it with artificial light when filming indoors or on cloudy days. Be careful not to overexpose or underexpose the scene, as this will make the video recording look too bright or grainy.
DSLR Cameras vs. Mirrorless Cameras
DSLR (Digital Single-Lens Reflex) cameras and Mirrorless (also known as Interchangeable Lens cameras) are both popular types of digital cameras used for recording videos. DSLRs use an internal mirror that reflects the image from the lens into the viewfinder, while mirrorless cameras ignore the internal mirror system.
The advantage of a DSLR camera is that they are more established and have been around longer, offering better lens compatibility and image stabilization. On the other hand, Mirrorless cameras are lighter and provide greater flexibility regarding different lenses.
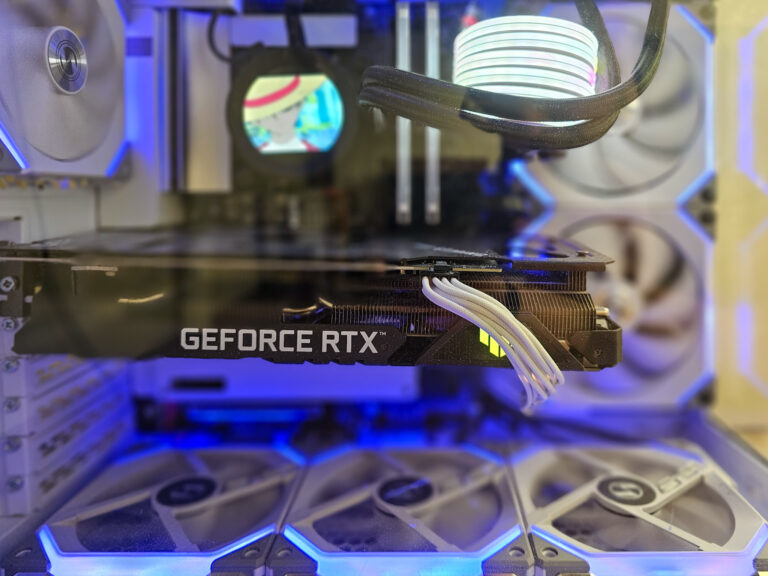
How powerful should my computer be?
Regarding your YouTube recording setup, your personal computer or laptop should be more powerful than many other uses. Video editing requires your computer to process large amounts of data quickly and accurately. A fast processor, lots of RAM, and a dedicated graphics card can make a difference in video editing performance. Your hard drive also needs to be quick to ensure that you don’t experience any loading issues while using your video editor of choice. Investing in quality components will make the entire video editing workflow much smoother and quicker.