4 Best Lighting for YouTube Videos
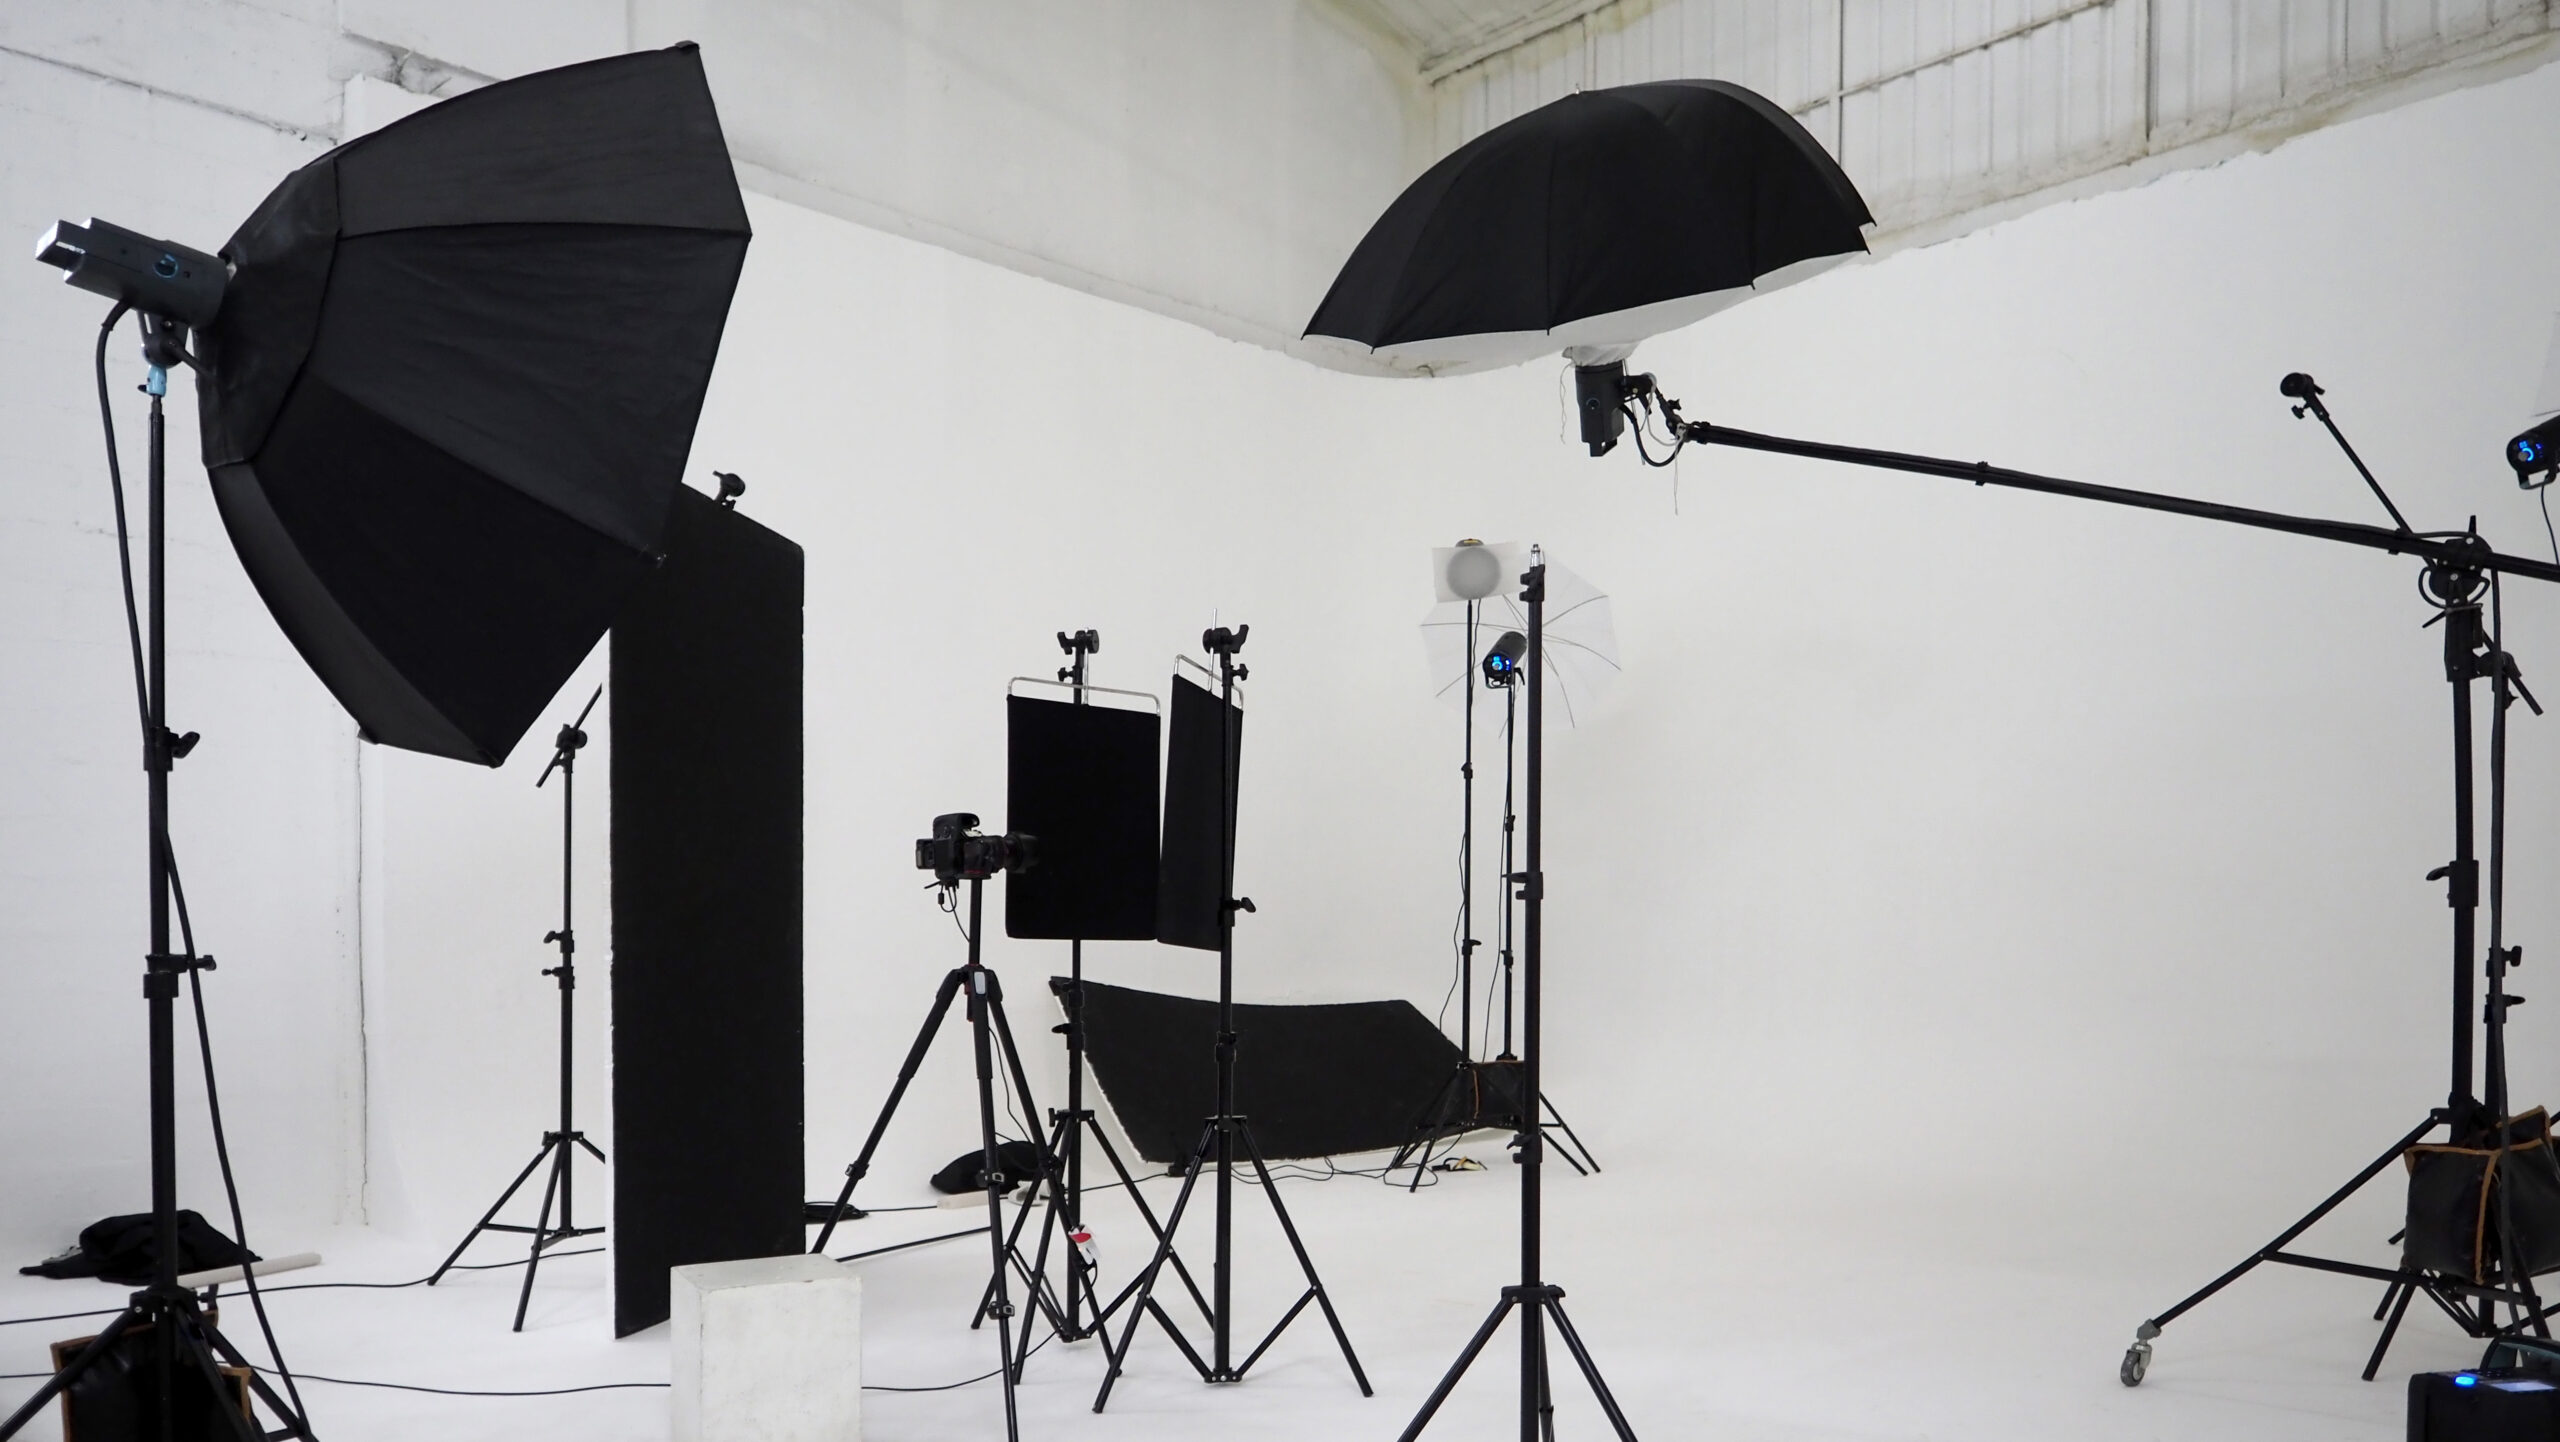
Finding the best lighting for Youtube Videos can be complicated when filming videos for passive income. Similar to microphones, YouTube lighting setup is very underrated. I have learned that without great lighting, your video will look bad and ruins the overall vibe of your video. In this post, I will list the best video lights, covering the basics of the softbox and ring lights. From personal experience, I have discovered that using led lights with softboxes is much more practical when compared to ring lights. Unless you’re doing a more extravagant video, this post will save you time finding good-quality led lights with a softbox modifier. For each item listed below, some also come with light stands already. If it doesn’t, I strongly recommend purchasing these light stands so you can easily change the position.
List of the Best Lighting for YouTube Videos
Disclaimer: This article contains affiliate links where I may receive a small commission at no cost if you decide to purchase.
List of the best lights for Youtube Videos
Aputure 300D Mark II – Best Quality

Brand Aputure
Connectivity Technology Radio Frequency
Has Self-Timer No
Wireless Communication Technology Radio Frequency
Color Temperature: 5500k±200k
The Aputure 300D Mark II is the ultimate studio light built to last and bright. It can produce 5500K color temperature and up to 90,000 lux luminance. It also features a yoke with 360-degree rotation and a handbrake locking mechanism for any position with any modifier. The control box is made of aluminum alloy and has a built-in antenna, and the light can be powered using a single battery at up to half its actual output. In addition to all these features, the 300d Mark II also comes with eight built-in lighting effects, 0-100% dimming control, DMX512-compatibility, wireless remote, and Sidus Link app controllability for smart devices. With its design and carrying case that can support up to 100kg, the Aputure 300d Mark II is a superb quality choice for the best lighting for Youtube videos.
Godox SL60W – Best Value

Brand GODOX
Connectivity Technology Radio Frequency
Has Self-Timer No
Wireless Communication Technology Radio Frequency
Color Temperature: 5600±300K
The Godox SL60W is the best value for money. It still is a powerful and reliable LED light for any video recording. This light features an impressive 60W LED bead that provides bright and stable illumination with a distinctive color rendering index of over 95. The remote control allows wireless dimming and working with six lighting groups and 16 channels. The video light also has a large LCD panel that makes it easy to precisely adjust and control the brightness and temperature. With its heat dissipation system, you can be sure this light won’t overheat on set.
GVM 80W – Best Budget

Brand GVM Great Video Maker
Hardware Interface Lightning
Has Self-Timer No
Water Resistance Level Not Water Resistant
Wireless Communication Technology Optical Pulse
Color Temperature 5600k
The GVM 80W is a robust and reliable lighting system for a youtube video. This is the cheapest option I would purchase for video lighting. It is quiet and has a wide range of features, such as an adjustable brightness range of 0.1% to 100%, allowing you to accurately adjust the brightness level and create smoother dimming effects. It has eight built-in scene modes, a rugged construction, and an active cooling system for efficient heat dissipation. Plus, it supports wireless control via the GVM app, allowing you to easily adjust the brightness and colors from your smartphone or tablet. With its wide range of features and affordable price tag, the GVM-SD80D is the perfect solution for lighting up your YouTube videos. The link below provides you with the LED Video Light, the softbox, and the tripod for less than $200.
Lume Cube Cordless Ring – Best Ring Light

Brand LUME CUBE
Battery Life 90 minutes
Hardware InterfaceUSB
Color Temperature 5600k
Although I strongly recommend the softbox led light, the Lume Cube would be the best choice as a ring light. This LED ring light features a color temperature range of 3200-5600K and can be adjusted from 0 to 100% brightness, making it ideal for adjustment. It’s also cordless and lightweight, so you can take this light stand wherever you need to do a recording. The positive thing about the ring light is its portability, but it comes at a cost that you must be aware of the battery life of up to 90 mins. This lighting kit includes a tripod, which makes achieving unique angles for your images and videos effortless. It’s about the same price as the GVM but the LUME Cube offers vlogging or live streaming convenience.
FAQ
What is the Best Lighting Equipment for Youtube Videos?
Softbox lights: Softboxes are a popular light stand for YouTube videos. They provided a diffusion panel, perfect for even illumination and softer light. Softboxes come in various sizes to accommodate different needs, from small desk setups to larger studio-style rigs. Setting up soft box lights correctly would take some experimenting, but they offer great flexibility and control over the quality of light when filming your video.
Ring Lights: Ring lights are a popular option for YouTube videos as they create an even level of illumination across the entire face and provide a pleasing soft glow which is perfect for close-up shots. Its ring shape light will shine evenly in the center so both sides of the face is visual. However, this makes it challenging to create a shadow effect and limits your options for creating a dynamic or various lighting effects. The ring lights can tend to be more portable but also have limited battery life.
Light Panels: Light panels are usually rectangular-shaped led lights that you can place in different parts of your camera frame. Aside from its portability, the issue is that the light is harsher than the other two lighting options. People have tried to use two light panels to shine both sides of the camera, but I wouldn’t recommend this either. This could, however, be a good option for placing in the background for ambient lighting.
How many light sources do I need?
You only need one light in most recording scenarios which is the key light. It provides a strong directional light source that can help to create depth and contrast in an image or video. This type of light is typically focused on one subject area, such as the face or a specific object. This can help draw attention to that area and create a more visually exciting composition. A key light can also reduce the lighting equipment needed, making it a practical choice for many content creators. While other lights, such as fill light and backlighting, it can enhance the final result but a well-placed key light is often enough to produce striking, high-quality imagery.
Can I use Natural Light?
Yes, you can use natural light for your YouTube videos. Natural light is great for creating soft and flattering illumination on the person or object being filmed. However, natural lighting does come with some limitations. The amount of natural light coming into your recording will vary, making it difficult to get consistent lighting with natural light. For instance, a few minutes in your video make it look perfect, and then a cloud comes and changes the entire lighting. Additionally, you may not have complete control over the direction of the illumination or find it too strong in certain parts of your video. Thus using an artificial light would provide consistency and allow you the option to adjust.
How to position your lights?
When setting up your lighting, you need to consider the type of look and feel you are going for in the video. You must position your lights differently depending on whether you want a dramatic or more natural effect. Focus the key light on one specific object or person in the frame for a dramatic effect while keeping your lights slightly above them. This will create a powerful impact that emphasizes the subject and draws attention. For a more natural look, try setting up your lights so they can even light up the entire scene from different angles. The key is experimenting with different setups to determine what works for you and gives you the best results. Make sure to use softboxes rather than ring lights for more even illumination.
Softbox vs. Ring Light?
Ring and softbox lights are popular options for lighting YouTube videos. The main difference between the two is that ring lights provide an even level of illumination across a subject’s face, while softbox lights offer more control over the quality and angle of light.
Ring lights produce a soft and uniform light, often used to achieve the classic “halo lighting” effect. This light is excellent for close-up shots, as it lights up the subject’s face evenly without creating harsh shadows.
On the other hand, softbox LED lights provide a more directional, focused soft light that can be adjusted to control brightness, color temperature, or hue. Softbox LED lights offer a more robust and varied illumination that can create depth and texture in your shots.
Softbox Light vs. Umbrella Light
The short answer is a softbox between these two light modifiers.
Both produce a soft light, but I would consider a softbox better for individual recordings, while an umbrella may be better for a more significant event with multiple speakers.
Softbox lights are a softer, more controlled light source that can be adjusted based on the size and shape of the box. Softbox lights generally provide more precise control over lighting than umbrella lights.
Umbrella lights feature a reflective surface covered with a white or silver material that bounces light back onto the subject, creating a broad, diffused light source. They can be used as a bounce or shoot through umbrella, with the former giving a softer light while the latter provides more directional control.
How to prevent glare from lighting when wearing glasses?
Once, I did a recording, and everything was perfect until I realized I had glare from my glasses. It is difficult to eliminate glare entirely, but there are some recommendations.
Ensure your lights are diffused with a light modifier and positioned correctly.
Adjust your lights’ brightness and color temperature. You can also use a lens hood or try other light modifiers to minimize glares further.
There are anti-glare lenses that you can purchase for your glasses.

